
This manual provides a comprehensive guide to diagnosing and resolving common issues with Lennox HVAC systems, including furnaces, air conditioners, and thermostats. It offers step-by-step solutions and preventive maintenance tips to ensure optimal performance and energy efficiency. Whether you’re a homeowner or a professional, this resource helps you identify and address problems effectively, covering everything from error codes to advanced diagnostic techniques.
1.1 Overview of Lennox HVAC Systems
Lennox HVAC systems are renowned for their reliability, energy efficiency, and innovative technology. The product lineup includes furnaces, air conditioners, heat pumps, and thermostats, designed to provide consistent comfort and reduce energy costs. Lennox systems are built with advanced features like smart thermostat compatibility and high-efficiency performance. They cater to various home sizes and climates, ensuring optimal heating and cooling solutions. With a focus on durability and sustainability, Lennox HVAC systems are trusted by homeowners and professionals alike for dependable performance year-round.
1.2 Importance of Regular Maintenance and Troubleshooting
Regular maintenance and troubleshooting are crucial for ensuring the optimal performance of Lennox HVAC systems. Proper upkeep helps prevent unexpected breakdowns, improves energy efficiency, and extends the system’s lifespan. Troubleshooting common issues early can save costs and avoid major repairs. By addressing problems like error codes, LED indicators, or electrical issues promptly, homeowners can maintain comfort and safety. Consistent maintenance also ensures systems operate at peak efficiency, reducing energy bills and extending equipment durability.
Common Issues with Lennox Furnaces
Common problems include the furnace not turning on, inconsistent heating, strange noises, and thermostat issues. Addressing these promptly ensures reliable performance and prevents major repairs.
2.1 Furnace Not Turning On
If your Lennox furnace isn’t turning on, check the circuit breaker or fuse box to ensure power is restored. Verify the thermostat is set correctly and has fresh batteries. A blinking red LED light on the furnace indicates specific error codes, such as ignition failures or pressure switch issues. Ensure all vents are unobstructed and the filter is clean. If the issue persists, contact a certified technician to diagnose and repair complex problems like faulty ignitors or control boards.
2.2 No Heat or Inconsistent Heating
If your Lennox furnace provides no heat or inconsistent heating, check for duct leaks or blockages that restrict airflow. Ensure the gas supply is on and verify the pilot light is lit. A faulty thermocouple or ignition system could prevent heating. Clean or replace the air filter if dirty, as it may restrict airflow. Check the venting system for obstructions and ensure all registers are open. If issues persist, a professional should inspect for internal malfunctions, such as a cracked heat exchanger or failed heating elements.
2.3 Strange Noises from the Furnace
Strange noises from your Lennox furnace can indicate various issues. Rattling sounds may result from loose components or debris inside the unit. Banging noises could signal a delayed ignition or a faulty burner. Whining or humming might point to a malfunctioning motor or capacitor. To address these issues, ensure all panels are securely fastened, check for obstructions, and verify proper gas flow. If noises persist, it may be necessary to inspect the heat exchanger for cracks or damage. Contact a certified technician if internal components are suspected to be faulty.
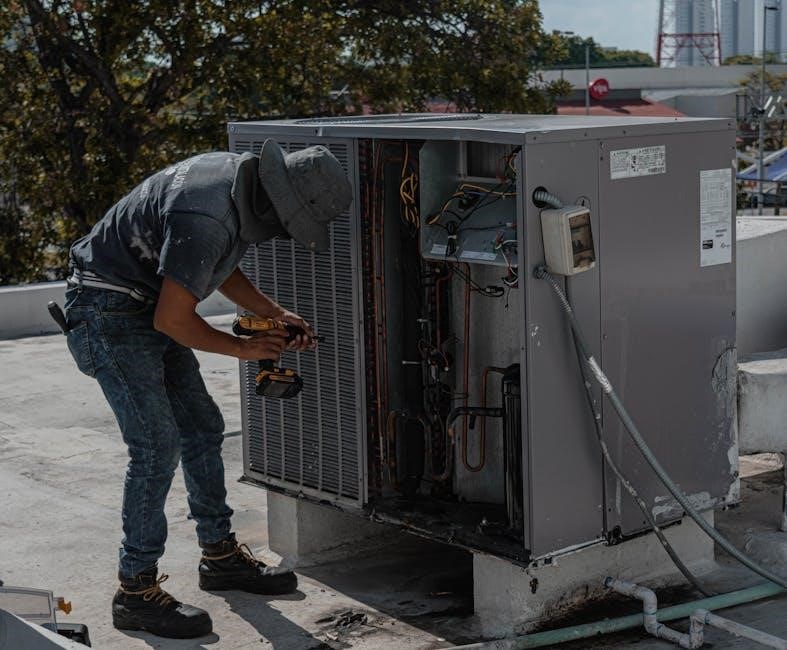
Troubleshooting Lennox Air Conditioners
This section addresses common issues with Lennox air conditioners, such as the unit not blowing cold air, leaks, or unusual noises, providing practical solutions and DIY fixes.
3.1 AC Not Blowing Cold Air
If your Lennox AC isn’t blowing cold air, check the thermostat settings, ensuring it’s set to “cool” mode. A dirty air filter or obstructed vents can restrict airflow. Verify that the condenser coils are clean, as dirt buildup reduces efficiency. inspect for refrigerant leaks, which can cause cooling issues. Ensure the unit is receiving power and all electrical connections are secure. If problems persist, contact a certified Lennox technician for professional assistance.
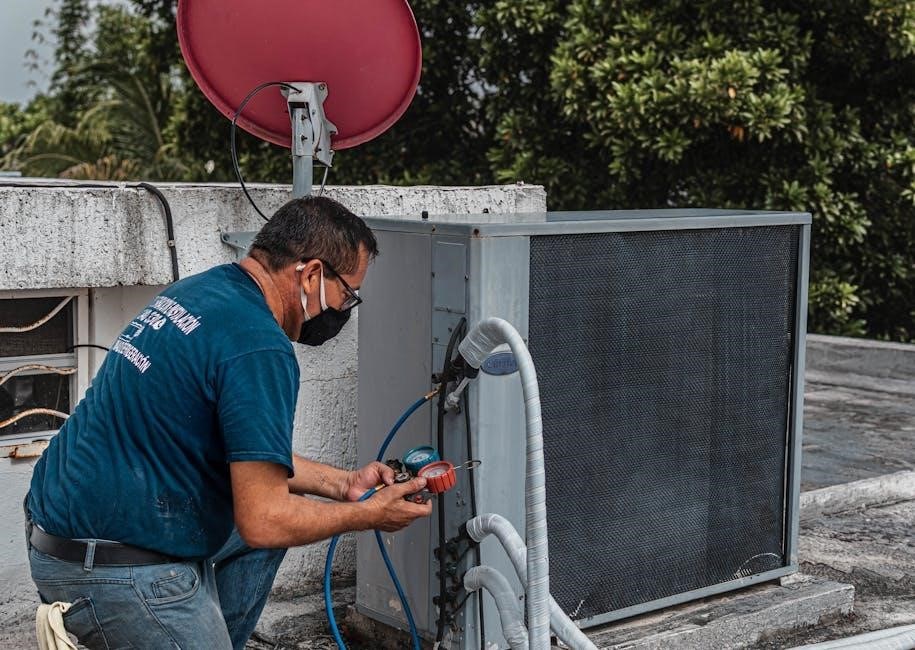
3.2 Leaks or Water Damage Around the Unit
Leaks or water damage around your Lennox AC unit can indicate a blocked condensate drain line, refrigerant leak, or drainage system issues. Inspect the drain line for blockages and ensure it’s properly sloped. Clean or replace the drain pan if necessary. Check for water pooling near the unit, which may signal a clogged drainage system. If you suspect a refrigerant leak, turn off the unit and contact a certified technician to avoid further damage or safety hazards. Regular maintenance can prevent such issues.
3.4 Unusual Odors or Sounds
Unusual odors or sounds from your Lennox AC unit can signal underlying issues. A burning smell may indicate debris in the unit or electrical problems, while a musty odor could point to mold growth in the system. Strange noises, such as clicking, hissing, or rattling, may suggest issues with the compressor, refrigerant lines, or fan motor. If you notice these symptoms, turn off the unit and contact a professional to diagnose and repair the problem promptly to avoid further damage.
Lennox Thermostat Troubleshooting
Address common thermostat issues like blank displays, unresponsive controls, or failure to activate HVAC systems. Check power sources, wiring, and sensor calibration for optimal performance.
4.1 Blank or Unresponsive Thermostat Display
A blank or unresponsive thermostat display can prevent your HVAC system from functioning properly. Check if the thermostat has power by verifying circuit breakers or fuse boxes. Ensure wires are securely connected and not damaged. Try resetting the thermostat by removing batteries or switching off power temporarily. If issues persist, internal components like sensors or the display module may need professional inspection or replacement. Addressing this promptly ensures your HVAC system operates efficiently and maintains desired comfort levels.
4.2 Thermostat Not Reaching Set Temperature
If your Lennox thermostat isn’t reaching the set temperature, check the power supply and ensure circuit breakers or fuses are functioning. Verify the thermostat’s programming and settings, making sure it’s not in a hold mode or overridden by a timer. Inspect the thermostat’s placement to avoid drafts or direct sunlight affecting accuracy. Check for faulty sensors or wiring issues, and ensure the HVAC system’s air filters are clean. If issues persist, consider recalibrating the thermostat or consulting a professional for deeper diagnostics.
4.3 Thermostat Not Turning On HVAC System
If your Lennox thermostat fails to activate the HVAC system, first ensure it has power. Check circuit breakers or fuses, and replace batteries if applicable. Verify the thermostat’s display is functional and properly connected. Review programming to confirm it’s set to the correct mode (heat/cool) and schedule. Ensure wiring connections between the thermostat and HVAC system are secure. If issues persist, inspect for damaged wires or loose connections, and consider resetting the system. Professional inspection may be necessary if problems remain unresolved.
Advanced Diagnostic Techniques
Advanced techniques involve interpreting error codes, analyzing LED light patterns, and inspecting electrical connections to identify complex system issues, ensuring precise and efficient troubleshooting of Lennox HVAC systems.
5.1 Understanding Error Codes
Lennox systems display error codes to identify specific issues, such as P6 for heat pump problems or blinking LED lights indicating furnace malfunctions. These codes guide users to the root cause, enabling targeted repairs. For example, a blinking red LED 8 times may signal a furnace ignition issue. Always consult the Lennox manual for code meanings, as they vary by model. Understanding these codes helps diagnose and resolve problems efficiently, ensuring your HVAC system operates smoothly year-round.
5.2 Using LED Light Indicators for Troubleshooting
Lennox HVAC systems often feature LED light indicators that flash in specific patterns to signal issues. For example, a red LED blinking 8 times may indicate an ignition problem in a furnace. These lights provide visual cues to help diagnose malfunctions quickly. Always refer to your Lennox manual for precise interpretations of LED sequences, as they vary by model. This feature enhances troubleshooting efficiency and ensures timely resolution of system performance issues, minimizing downtime and ensuring comfort.
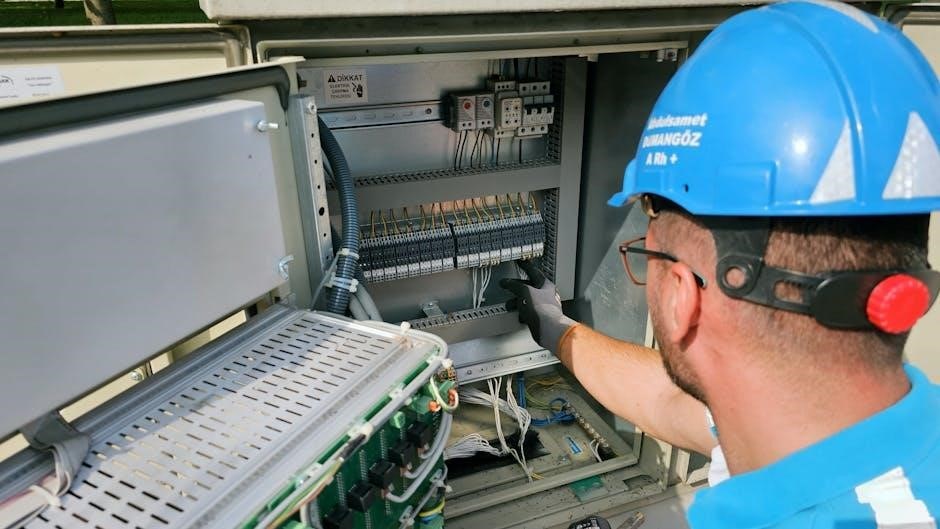
5.3 Checking Electrical Connections and Fuses
Ensuring proper electrical connections is crucial for Lennox HVAC systems. Start by verifying that all wires are securely connected and not damaged. Check the circuit breaker or fuse box to confirm the system has power. If a fuse is blown or a breaker is tripped, reset or replace it. For low-voltage components, inspect the fuse or slot-style fuse specific to your Lennox model. Always turn off power before handling electrical components to avoid safety risks. Consult your manual for fuse locations and ratings.
Preventive Maintenance Tips
Regular cleaning of air filters, inspecting ductwork for leaks, and scheduling annual professional inspections are essential for preventing issues and optimizing Lennox system performance.
6.1 Cleaning Air Filters and Condenser Coils
Cleaning air filters and condenser coils is crucial for maintaining efficiency. Turn off the power before cleaning. Use a soft brush or garden hose for condenser coils. Replace or clean filters monthly to ensure proper airflow. Dirty filters and coils can reduce system performance and increase energy bills. Regular cleaning prevents overheating and extends equipment lifespan, ensuring optimal operation and reliability.
6.2 Inspecting Ductwork for Leaks or Blockages
Inspecting ductwork for leaks or blockages is essential for ensuring efficient airflow and heating/cooling performance. Turn off the system and inspect ducts for gaps, holes, or damage. Listen for unusual noises while the system operates, as they may indicate blockages. Use a flashlight to visually inspect dark areas. Seal leaks with duct sealant and clear blockages promptly. Properly maintained ductwork improves energy efficiency, reduces energy bills, and enhances overall system performance. Regular checks prevent costly repairs and ensure consistent comfort.
6.3 Scheduling Annual Professional Inspections
Scheduling annual professional inspections ensures your Lennox HVAC system operates efficiently and safely. Certified technicians inspect and clean components, check for wear, and address potential issues before they escalate. Regular inspections prevent breakdowns, optimize energy use, and extend equipment lifespan. They also validate warranties and ensure compliance with safety standards. By maintaining your system professionally, you enhance comfort, reduce energy bills, and prevent unexpected repairs. Annual inspections are a proactive step in preserving your investment and ensuring reliable performance year-round.

When to Call a Professional
Call a professional if DIY troubleshooting fails, error codes persist, or complex issues like electrical faults arise. Experts ensure safe, warranty-compliant repairs and optimal system performance.
7.1 Recognizing Symptoms Beyond DIY Fixes
Some issues require professional attention, such as complex error codes, persistent system malfunctions, or safety concerns. If DIY steps don’t resolve the problem, it’s crucial to contact a certified technician. They can address advanced faults, ensure compliance with manufacturer guidelines, and prevent further damage. Recognizing when to seek expert help is key to maintaining your Lennox system’s efficiency and longevity.
7.2 Understanding Warranty and Service Agreements
Lennox warranties and service agreements provide protection and peace of mind for system owners. Understanding the terms ensures you know what’s covered, such as parts, labor, or specific repairs. Regular maintenance agreements often include priority service, discounts, and routine checks to prevent issues. Reviewing your warranty and service agreements helps you make informed decisions and utilize available resources when troubleshooting or repairing your Lennox HVAC system.
7.3 Finding Certified Lennox Service Providers
To ensure reliable repairs and maintenance, it’s crucial to find certified Lennox service providers. These professionals are trained to handle Lennox systems effectively. You can locate them through Lennox’s official website or by contacting local HVAC companies. Verify their certification and check reviews to confirm their expertise. Certified technicians guarantee genuine Lennox parts and adherence to manufacturer standards, ensuring your system runs efficiently and safely after repairs.